3.3.1. Offline Installation for a LinOTP Virtual Appliance#
Introduction#
Congratulations on purchasing the LinOTP Virtual Appliance (LVA) your solution for secure and reliable user authentication!
These instructions will guide you step by step through the installation of the LinOTP Virtual Appliance. You will receive an installation image that already contains all the necessary packages so that the installation can be carried out without an active Internet connection. Once the installation process is complete, the LVA is fully operational. If an Internet connection is available, you can perform an optional update at the end of the installation to benefit from the latest improvements and security updates. With the LinOTP Virtual Appliance, you can rely on a proven authentication solution that is easy to install, flexible to use and ready for immediate use.
Offline Installation#
Note
In order to operate the LinOTP Virtual Appliance (LVA) optimally, the virtual machine should meet certain minimum requirements. To ensure that the system runs stably and efficiently, it is recommended to use a CPU with at least two cores. The VM should also have at least 4 GB of RAM to ensure smooth processing of the authentication processes. Storage capacity also plays an important role: the virtual machine’s hard disk should be at least 25 GB in order to provide sufficient space for system files, log data and any updates. If the LVA is used in an environment with a high volume of users or extensive authentication processes, it may make sense to provide more resources to ensure optimum performance. By carefully dimensioning the virtual machine, you can ensure that LinOTP runs efficiently and reliably - regardless of the size of your organization or the scope of the authentication solution used.
Note
Operating System based on Linux (Debian 12)
Warning
The LVA only supports one network card. If several network cards are present in the virtual machine, this leads to problems when connecting to the web interface (Cockpit).
Integrate the LinOTP Virtual Appliance ISO image as a CD drive in your virtualization and start it from there.
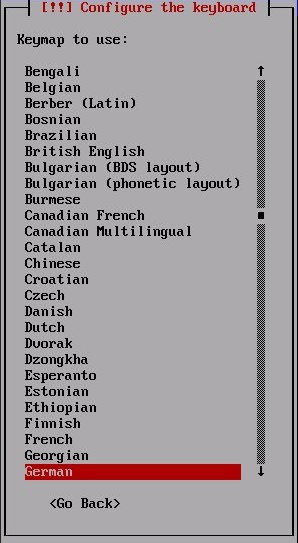
After a short boot process, the installation menu will appear. You can choose the keyboard layout used later in the optional command line environment.
3.1 Set Language
Please select the desired language for the LVA user interface. You can easily change the language settings at any time via the appliance interface.
3.2 Automatic Network Configuration
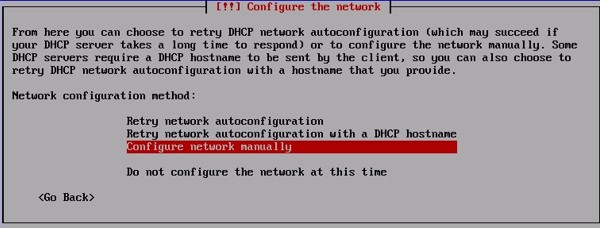
The virtual machine automatically obtains an IP address and all necessary network information via DHCP. If no DHCP server is available, manual configuration is required

3.2.1 Manual Network Configuration
If no DHCP is available the network related configuration details must be entered manually You can change or adjust all settings afterwards via the Cockpit interface.
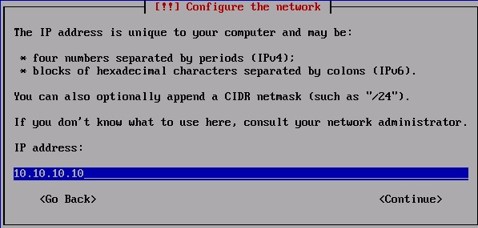
3.2.2 Set IP
Enter the IP address of the appliance here. |
After installation, you can log in with the assigned IP address via the cockpit interface of the LVA and start the administration.
Note
You can also enter the subnet mask of the IP address (10.10.10.10/24). Otherwise, the subnet mask is defined in the next step.
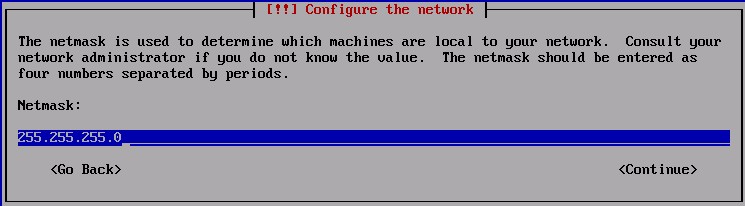
3.2.3 Set Netmask
Enter the subnet mask of the appliance to define the network settings.
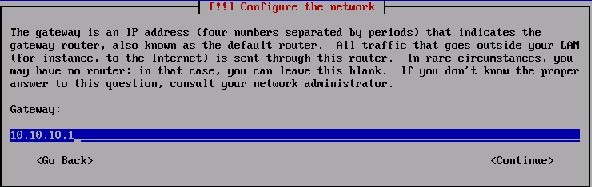
3.2.4 Set Gateway
Enter the IP address of your gateway here to ensure network connectivity.
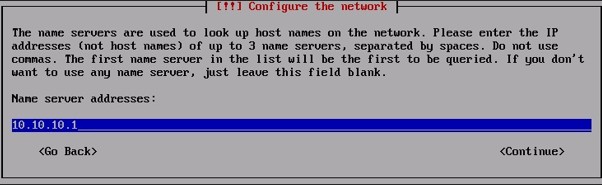
3.2.5 Set Name Server
Enter the IP address of your DNS server here. If you have several DNS servers in use, you can also enter them here.
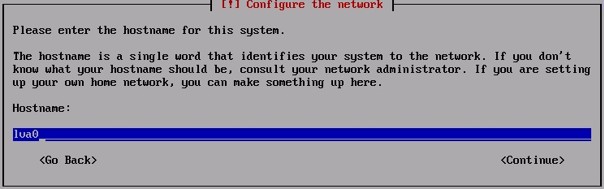
3.3 Set Hostname
Enter the host name for the LinOTP Virtual Appliance (LVA) here.
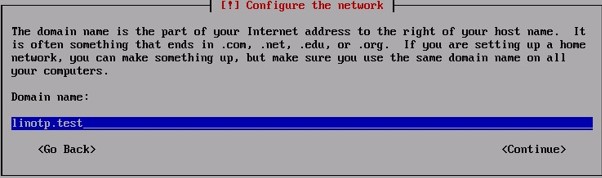
3.4 Set Domain Name
Enter the domain of your company here to define the network configuration accordingly.
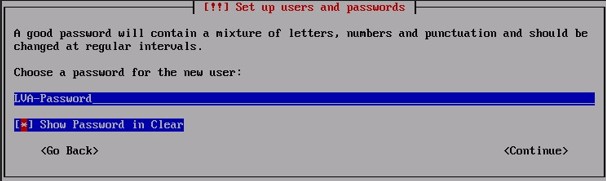
3.5 Set & Verify Password for LVA User
Note
Set a secure password for the LVA user here. As a Super-admin, this user has extensive rights on the Cockpit interface and can manage all settings.
3.5.1 Set Password
Choose a secure password with a combination of upper and lower case letters, numbers and special characters. Avoid passwords that are easy to guess.
3.5.2 Verify Password
Confirm the password you have just assigned here.

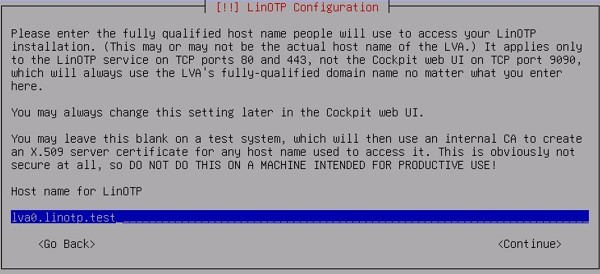
3.6 Set FQDN for Server
Enter the FQDN for LinOTP Virtual Appliance here (hostname.domain).
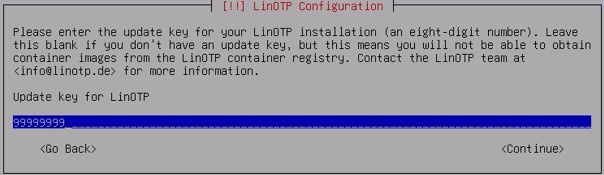
3.7 Enter your Updatekey
Note
You will find your Updatekey (formerly serial number) under your license documents.
Note
If you want to update your application online, select No in the next step and confirm. If you have entered a valid Updatekey, the updates will be downloaded online.
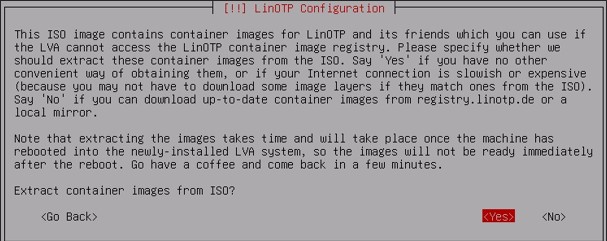
3.8 Install Offline Packeges from ISO
All packages required for the application are installed from the ISO file if “yes” is selected.
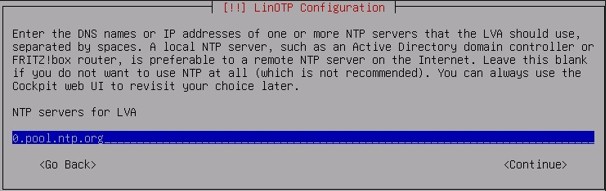
3.9 Set NTP Server
Enter the Network Time Protocol (NTP) server for your region here.
The installation process does not require any further user input. After completion, the system is restarted automatically. Make sure that the subsequent boot process is not performed from the ISO image, but from the hard disk of the LinOTP virtual appliance. As soon as the login prompt is displayed on the virtual machine console, you can access LinOTP via the web interface.
Now, follow Quick Start Guide Appliance to finish the essential setup of your LinOTP Virtual Appliance.